Showing posts with label DIY. Show all posts

Saturday, September 03, 2011

You're so vanity

There's not a lot I can remodel, repaint or replace in my house. The kitchen cabinets are not worth the time, and the master bathroom requires a professional. And possibly some professional grade explosives.

So I do what I can. And this past week, I repainted the bathroom vanity in the guest bath. Step by step for those who like that kind of thing. If you don't, skip ahead to the photo:

  1. Take everything apart. Knobs, hinges, etc.
  2. Sand lightly. Fill in any unwanted holes with wood filler.
  3. Prime with oil-based primer. One coat will do ya.
  4. Paint. You can use a combo of roller and brush, but I learned that the folks at Young House Love were right: skip the foam roller and go with a cotton or fabric roller. Foam rollers = bubbles.

    4a. I chose Dark Granite by Olympic. Don't let the patronizing paint guy at Lowe's talk you out of this color. Specifically his words were, "Now, are you looking for BLACK or ALMOST BLACK?" in a "do you know your colors, little girl?" kind of way. He also pointed out to me that I had picked the wrong paint to tint. I would put money on the bet that he is single.

    4b. I ended up with kitchen/bathroom acrylic latex, semi gloss, base 5. I also ended up with an entire freaking gallon of it, thanks to the advice of the aforementioned patronizer. You will probably need only a quart.
  5. Wait 48 hours. Visit often to admire your nearly finished project. Do not let the doors dry while sitting on the bathroom rug. Trust me.
  6. Add adorable, overpriced knobs. I recommend Anthropologie.
  7. Attach hinges. I bought new ones. Then I bought more new ones that were actually the right kind.
And once again, I have spent two weeks on a painting project and I am vowing never to do one again. But I do love it, so I'll probably be back in a month.


Sunday, February 06, 2011

Desk it Yourself

Another great Craigslist purchase has finally made it indoors. If you look very hard, you can tell that this desk was sort of a Southwesty beige color. Not sure why it's Southwest, but it felt that way, and it looked pretty ugmo.


Note the little drawing left by the previous owner, a 7-year-old girl. :) We hauled this thing away for $100, which wasn't bad considering it has a light and a hutch. Perfect for my guest room and my Hello Kitty sewing machine. Please pardon the junk already piled beneath it. I sorta suck at taking blog pictures.


But now the dilemma is what to do with that cork board. Much as I love the little drawings, I painted without tape and with the plan to cover the cork with something. Paint? Fabric? Metal? I've had a few good suggestions from friends. This is what I've fashioned using the free image software called, no kidding, GIMP:


Slate blue. I have other blue accents in the room. This is probably not my favorite idea.


Argyle? I stole this image from Google without looking closely at the pattern, which has little skulls. Not sure I would find this at Jo Ann's, but I might be able to find a less skullish argyle pattern.


This is probably my favorite idea. I like the swirlies. Definitely looking for more ideas! And now that I have a space to work on more sewing projects, I could even sew this mutha. Very excited to finally have this addition to my space. I had been searching for the right one for months, and then had to take the required time to prime, paint and cure. And wipe off the little paw prints left by the numskulls known as Beverly and Merriweather!

Saturday, September 04, 2010

Putting the FUN in FUrNiture!

This post is all about a labor of love called the Armoire For the Guest Room. I bought it for $50 on Craigslist. As usual, I forgot to take a "before" pic. But it kinda looked like this:

I armed myself with some Internet-based instructions and a dream to paint it white. The armoire was laminate pressboard, which I've always heard is difficult to paint. But after sanding and priming, the paint rolled on pretty easily. I was feeling great! So I followed my favorite bloggers' advice and moved on to the next step: coating it with a clear polyurethane. So easy! I left it alone to dry for extra awesomeness, and went out to the garage today to put it together and enjoy my new life as an armoire owner. But it soon became clear that the poly coat was not.


Can you tell how YELLOW it is? Can you tell how MAD I was by the use of these CAPITAL LETTERS? I ended up having to buy more paint and add two more coats. But I guess it was OK because it inspired me to repaint the dresser I've had since I was 5, which also lives in the guest room. (New knobs from Anthropologie made it even better!)


ANYWAY, after a long day and a slight setback thanks to some poorly timed sprinklers, I finally got the armoire into the guest room and started turning my life around:


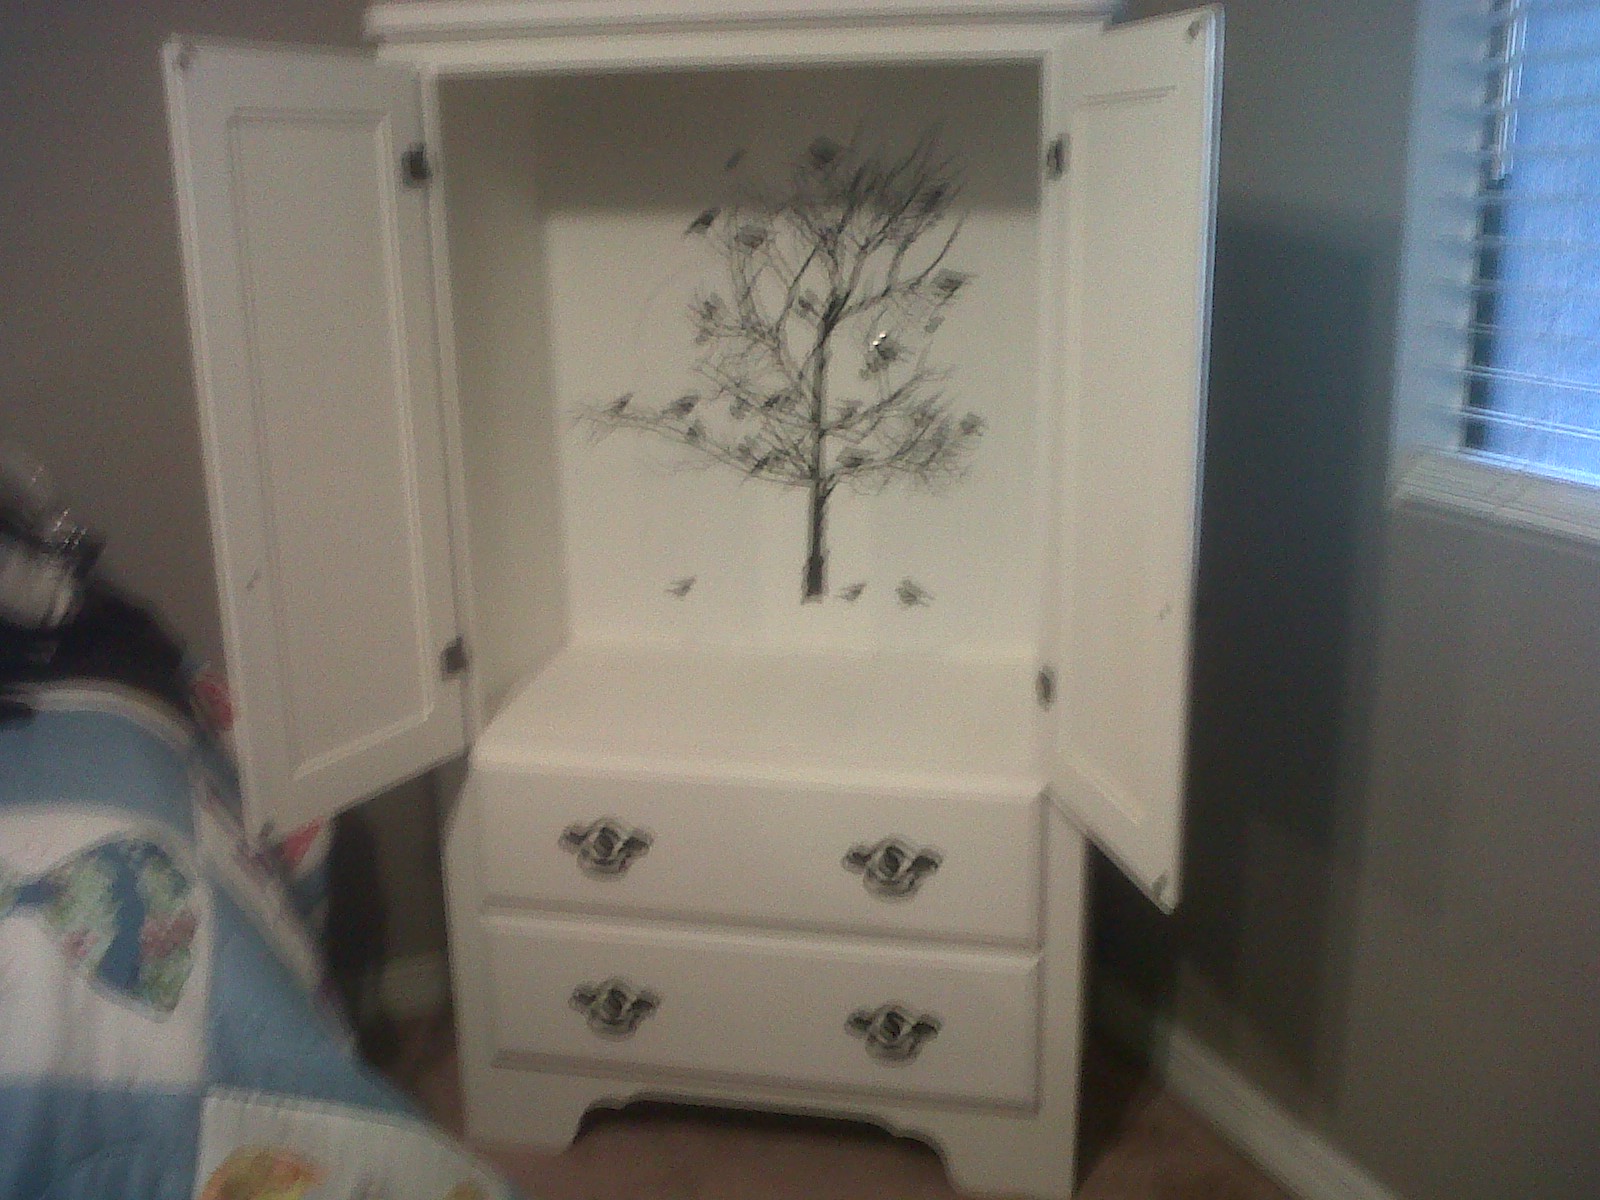
Now, one more detail about this armoire. It came with a super lame feature designed to help you set up your TV:


At first I was just going to paint over it, but was inspired by a cool little product at Target -- a sticker made for college dorm rooms. With that and a roll of sticky white shelf paper, this is how it turned out:


I love it. I also need a break from painting furniture. Maybe my next piece will be purchased the way I actually want it.

Sunday, July 11, 2010

DIY...er....DIO

I've had a week off school, so how do I celebrate? I've been reveling in house projects of course!

I would call it DIY, but usually T helps me, so it's more like DIO. The first project was an answer to a growing pile of snarled necklaces and less space to store them. So we turned an otherwise blank space into a lovely piece of jewelry art. The necklaces are hanging on flat-head screws, which, if you look closely, are topped with some little colored gems we got at Michaels. The little rhinestones dress up the screws a little bit and play into the whole bejeweled theme. And there's always more wall space as I add to my collection.
The next is one of my favorite projects we've ever done! For over a year, our shoes have lived in a little stinky pile at the bottom of our closet. But thanks to some supplies picked up at Home Depot, I can find my shoes quicker and have more open space in the closet. Of course, the only downside is that the stinky pile is now up at nose level. Any suggestions for neutralizing shoe odor? Maybe some bowling alley spray? :) You'll also notice the cute bin at the bottom for flip flops.

Other projects include hanging a few shelves (my favorite activity and T's least favorite), creating an actual broom closet, cleaning out some very messy closets and starting an office supply closet. That latest project involves removing all the ne'er used coats from our front closet and adding some cubbies for mail, scissors, pens, stamps, etc. I'll post more details as it evolves, but I'm super stoked because our mail 1) always ends up in a massive pile on the kitchen counter and 2) sometimes gets lost, which is a bummer if you lose a paycheck! I also just bought a little armoire on Craigslist, which will prove to be a lesson in painting laminate furniture....should be fun!

Any house projects going on out there? I love to copy people!